-

- News
- Books
Featured Books
- pcb007 Magazine
Latest Issues
Current Issue
The Legislative Outlook: Helping or Hurting?
This month, we examine the rules and laws shaping the current global business landscape and how these factors may open some doors but may also complicate business operations, making profitability more challenging.

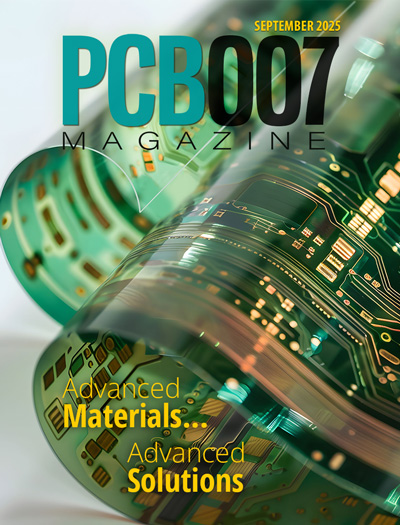
Advancing the Advanced Materials Discussion
Moore’s Law is no more, and the advanced material solutions to grapple with this reality are surprising, stunning, and perhaps a bit daunting. Buckle up for a dive into advanced materials and a glimpse into the next chapters of electronics manufacturing.

Inventing the Future With SEL
Two years after launching its state-of-the-art PCB facility, SEL shares lessons in vision, execution, and innovation, plus insights from industry icons and technology leaders shaping the future of PCB fabrication.
- Articles
- Columns
- Links
- Media kit
||| MENU - pcb007 Magazine
Estimated reading time: 3 minutes
Powerful Prototypes: Small Computer Modules
I’ve taken a rather long hiatus from building things—probably the longest in recent memory. For this column, I’m half-stepping back into the design world by looking at a product someone else designed and built—the µduino (micro-duino).
The board I’m looking at may be the world’s smallest Arduino module. I’m a big fan of small electronics. I find it a nice challenge to design things smaller, and with modular electronics, there is an added usability factor to having things small.
Figure 1: Small µduino.
It is not uncommon for us to see customer designs that utilize some form of plug-on compute module. These range from Arduino compatible modules up through high-powered devices like Beagle Bones.
Dropping in a module as the brains for your device can really shorten design time. You don’t have to worry about designing a piece of hardware that has been designed a million times before, and you can take advantage of a lot of software work put together by a huge community of developers.
However, modules are not always practical. One of the reasons I don’t typically use modules in my own designs is that they are usually too big and add in a lot of functionality that I don’t need. Instead, I will design in a “bare metal” PIC microcontroller or add in the basic reference design Arduino compatible circuit. It doesn’t take a lot of time—probably just a few hours or so at this point, but every little bit of time adds up, and the time commitment cascades when it comes time to assemble the device.
Yes, I work for an electronics manufacturer, but like the professional auto mechanic who rebuilds engines for fun at home, I also like to hand build my own boards. I would rather spend my hand assembly time on new chips and sensors and such than another repeat of a microcontroller section. I get tired of the same Atmega and the same set of passives that go into the Arduino circuit.
I recently came across the µduino on Crowd Supply and felt the need to buy a few and see if I might have finally found a viable alternative to always designing in the microcontroller.
Just how small is the µduino? Here's a photo of two of them sitting on top of my YDY (you do you) lapel pin I made for the Open-Source Hardware Conference earlier this year. The YDY board is 1.3” (33 mm) wide and the µduino—a fully functional equivalent to the Arduino Leonardo—is less than half that.
Figure 2: Two µduinos on YDY.
Soldering to something this small is not for the faint of heart or shaky of hands. The µduino has 1-mm pitch through-holes for the I/O connectors. I recommend carefully tinning your leads ahead of time or using solid wire, use flux, a good magnifier and a small iron.
Once you get past the precision soldering, you can start to see the utility of the module. The next photo shows the electronics set for my stepper motor-driven camera mount for star photography. In this case, I used an entire commercial Arduino module, along with a stepper driver breakout board. My hand-wired carrier board is built on an Arduino shield with dual voltage (3V and 5 V) I2C that I designed and built a while back. The LiPoly battery charger board is also of my own design.
Figure 3: Star tracker with µduino.
My next activity will be to redesign the carrier board with the LiPoly charger and power supply integrated. I’ll use the µduino as the brains, so the entire set up will be on one board with a smaller area than just the commercial Arduino alone.
Duane Benson is marketing manager and CTO at Screaming Circuits.
More Columns from Powerful Prototypes
Powerful Prototypes: A Trip Back to the BasicsPowerful Prototypes: The Work World in 2021
Powerful Prototypes: Why Datasheets Matter
Powerful Prototypes: Manufacturing in an Uncertain World
Powerful Prototypes: An Open-Source Adventure
Powerful Prototypes: Five Technological Shifts in the New Decade
Powerful Prototypes: Cost Reduction in Design
Powerful Prototypes: New PCB Fab Technology—What You Need to Know


