-

- News
- Books
Featured Books
- smt007 Magazine
Latest Issues
Current Issue
Moving Forward With Confidence
In this issue, we focus on sales and quoting, workforce training, new IPC leadership in the U.S. and Canada, the effects of tariffs, CFX standards, and much more—all designed to provide perspective as you move through the cloud bank of today's shifting economic market.

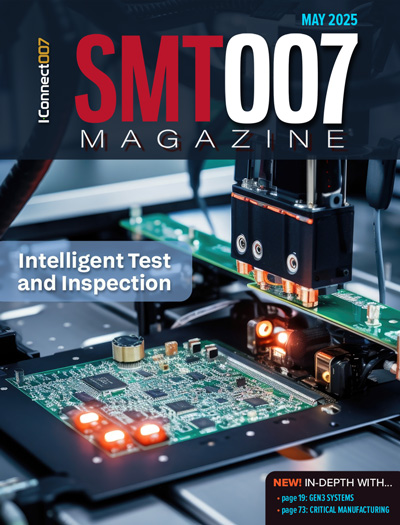
Intelligent Test and Inspection
Are you ready to explore the cutting-edge advancements shaping the electronics manufacturing industry? The May 2025 issue of SMT007 Magazine is packed with insights, innovations, and expert perspectives that you won’t want to miss.

Do You Have X-ray Vision?
Has X-ray’s time finally come in electronics manufacturing? Join us in this issue of SMT007 Magazine, where we answer this question and others to bring more efficiency to your bottom line.
- Articles
- Columns
Search Console
- Links
- Media kit
||| MENU - smt007 Magazine
How to Use Machine Calibration Techniques
December 31, 1969 |Estimated reading time: 4 minutes
Information provided by CeTaQ
Machine calibration can increase the efficiency of a production line, reduce rework, improve manufacturing accuracy, and enable use of more advanced components and board designs. Knowing the many possibilities available for machine calibration is key to maximizing its benefits for your assembly and inspection lines.
Dispensing Systems. Engineers on the line can analyze the process capability of dispensers from any OEM. Machine capability of dispensers is measured by running a highly accurate glass board with glue dots (Figure 1). The glass plate is used to minimize the dimensional errors associated with epoxy boards and to provide accurate and relevant measurements. Before beginning a machine capability test, generate a measuring program. This must be done correctly to determine a result as relevant as possible in the minimum amount of time. In most cases, system software is able to create a dispensing layout, exporting data to the glue dispenser machine. Otherwise, the program on the dispenser equipment must be created manually with relation to the defined program of the calibration system.
Once the program is ready, glue dots are mounted on the glass board in the dispenser equipment. The calibration system then measures and evaluates X/Y positional accuracy and dot diameter on the assembly. Glue dots are measured using the previously defined program, taking into consideration the impact of dispense order, diameter size, board rotation, and machine specifications.
Live Components. Capability measurement analysis of leaded devices can validate machine accuracy effectively, minimizing placement errors and increasing finished assembly quality. Capability validation testing realized on placement equipment is called machine capability analysis (MCA) test. The result of this statistical evaluation represents the highest placement performance in the best conditions. Calculate component size (X/Y), side or toe overhang, pitch, bent leads, offsets (X/Y), and theta rotation. Standard QFP devices are measurable along these parameters, as are other custom leaded devices. Correlate results with quality standards like IPC (IPC-610-C) to monitor component quality coming from different suppliers. The principle of measurement is the same as with glass or dummy components. If the component is symmetric, a machine calibration system's vision software should be able to detect the edges or pins.
Reflow Ovens. Stability validation of reflow ovens controlling temperature profiles optimizes process control and develops defect prevention for the reflow step. The reflow oven should be controlled in the same manner as all machines involved in the manufacturing process (screen printers, glue dispensers, chip shooters and fine-pitch placement equipment). The measurement principle for the repeatability of solder reflow ovens is to record temperatures using 7 to 12 thermocouple (TC) sensors affixed to small pieces of titanium on a carrier. The board is sent through the oven 20 times using a standard profile from production. The temperature profile is the reference for the measurement. After each run, data imported from the control unit contributes to a statistical tracking software program.
Because this test is performed using a minimum set of statistical samples through a long period of time (typically five hours), board-to-board repeatability, e.g. oven stability, is achieved. During this process, peak temperature, reflow time, soak time, and minimum and maximum gradient are recorded. Only Cm and Cmk are used to determine the performance of the oven. Analyzing the temperature profile allows a calibration system to verify that products are high quality, or to determine methods to increase throughput, or to solve production problems.
AOI. In-line AOI systems are used for inspection, verification, and measurement after component placement or reflow. Generally, AOI systems provide fast visual inspection, and typically are integrated into the production line. AOI basically surveys the surface of its programmed area and records visual data about the board. These systems offer high-speed automated visual inspection, but low resolution (typically ±30 µm accuracy). As measurement systems, their accuracy should be controlled and proven frequently. By using a highly accurate glass board, it is possible to control the repeatability and global accuracy of the AOI system along X and Y directions. The grid of fiducials etched on the glass board can be analyzed at least 20 times at 0° and 180°. With the deviation calculated between values from the AOI system, it is possible to determine your AOI system's capability. Machine calibration systems can import and graph statistical data from these measurements. Depending on the results, it typically is possible to calibrate the AOI system or input offset values to compensate discrepancies, especially parallelism problems.
ConclusionEach part of the SMT process has an influence on the final quality of the products assembled. Screen printers, adhesive dispensers, chip shooters and pick-and-place machines, reflow ovens, and AOI systems, detailed here, are increasingly required to meet tighter tolerances of volume, pitch, temperature, etc. Investing in machine calibration will bring immediate returns via lowered scrap, higher yields, and increased quality.
For more information on the techniques explained in this article, visit www.cetaq.com.


